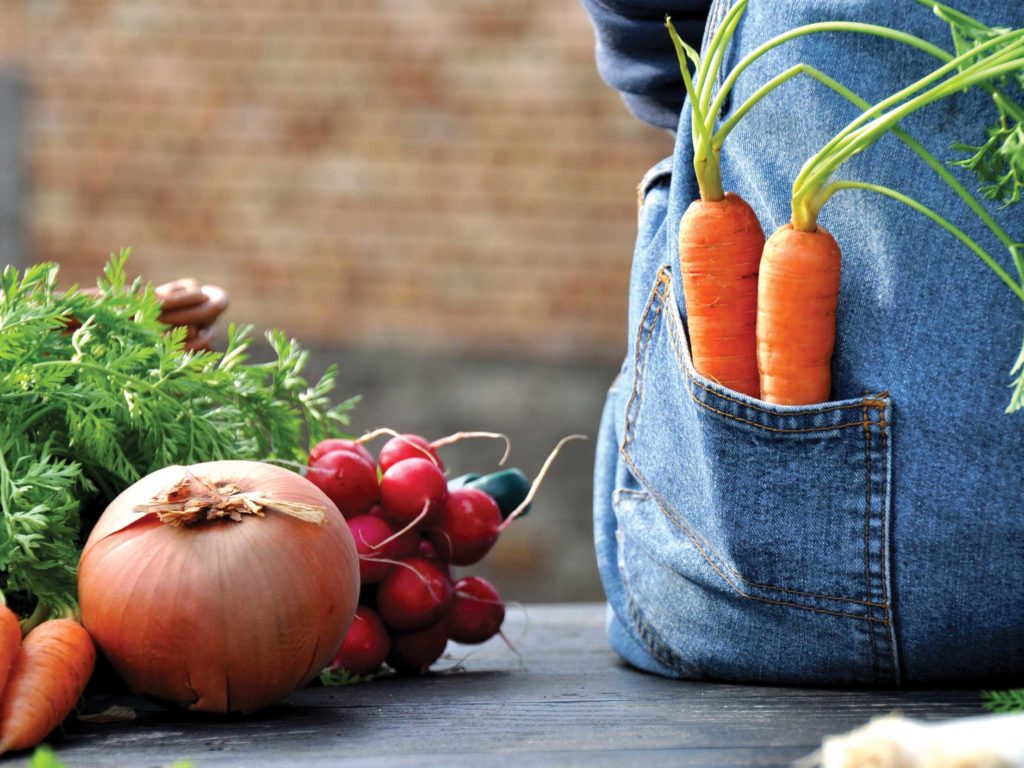
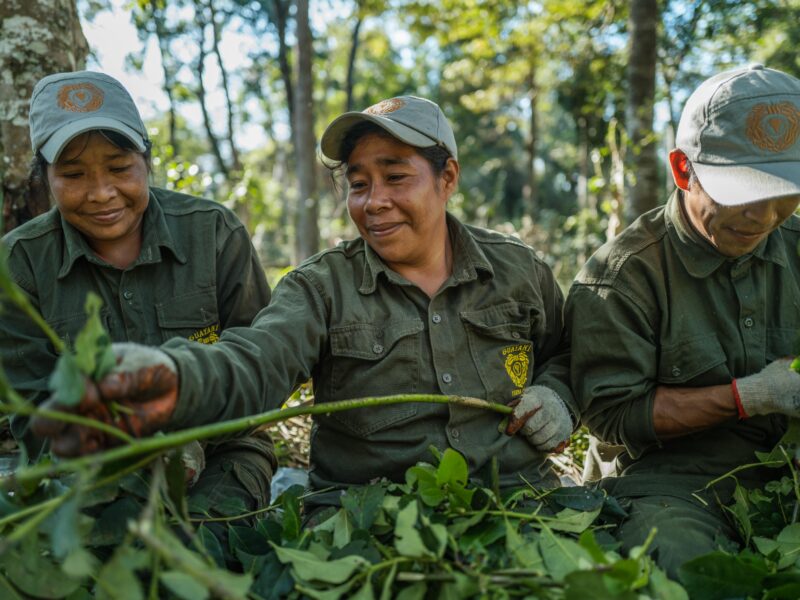
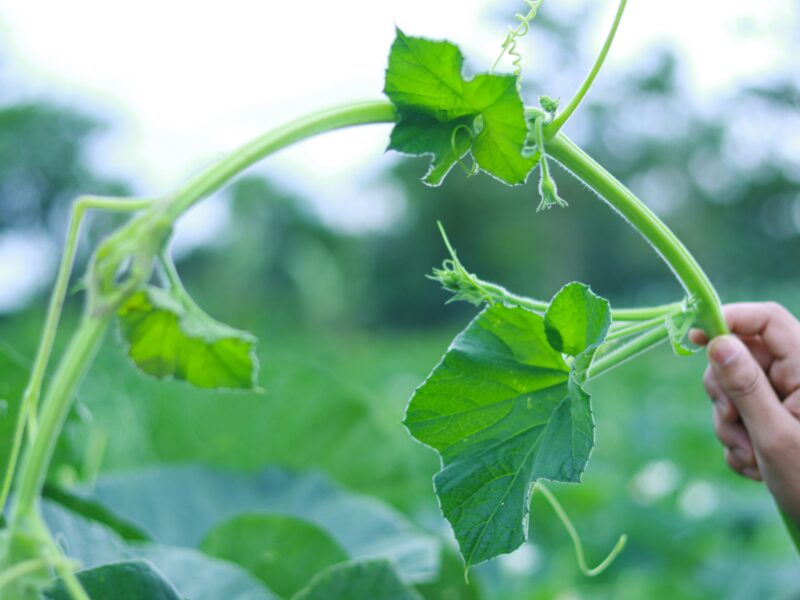
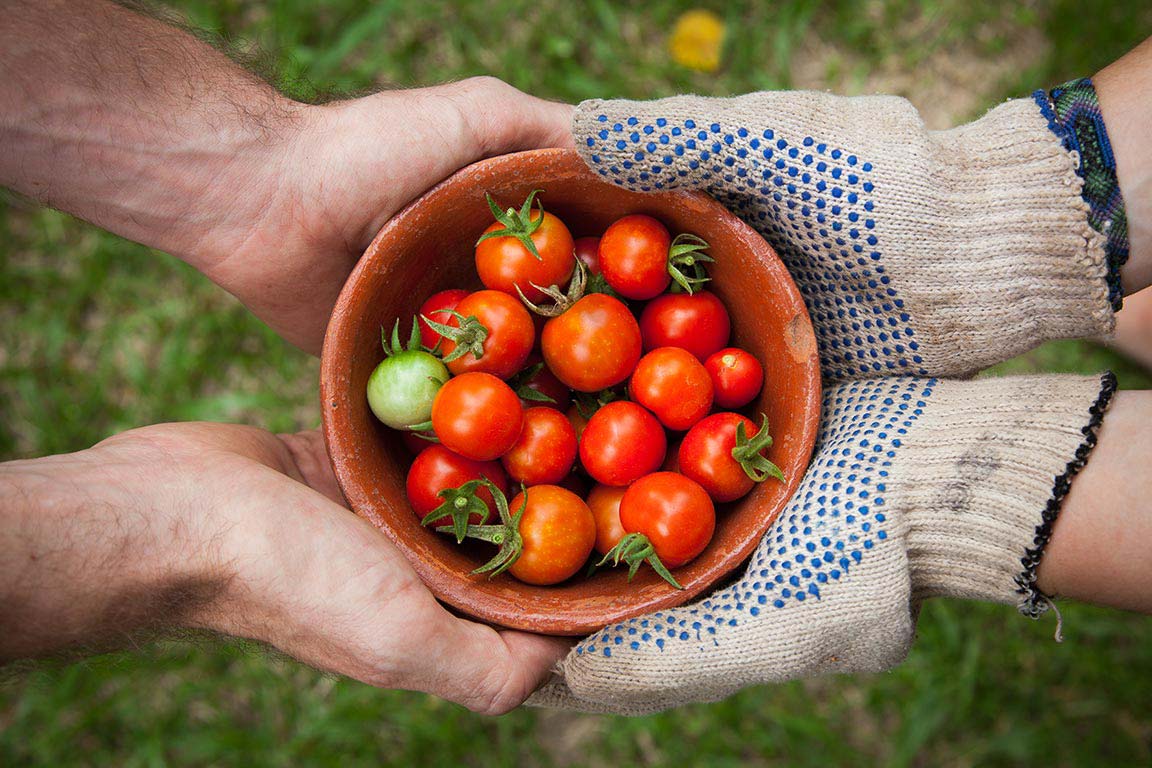
As spring is upon us it’s an opportunity to get your hands in the dirt and grow some delicious organic food. We’ve pulled together seven steps to starting and enjoying your organic garden!
Step One: Choose a good spot
It’s important to select an area that is open, well drained and is exposed to at least seven hours of sunlight a day. Planting in natural soil has many benefits, including providing the nutrients for healthy plants and a strong yield, but be sure to pick an area that has a fence or other protection from larger pests such as rabbits, rodents or deer.
If your soil isn’t in optimal condition or may have been polluted with insecticides or other contaminants, or if you live in a place with little or no natural soil, you may want to try a raised bed or a container garden. You’ll have to do more planning because raised beds and container gardens typically require more work to maintain optimal soil and irrigation conditions. But happily you can do container gardening anywhere. That means no excuses, so start your own organic garden today.
Step Two: Prep the soil for planting
For a spring garden, prepare the soil as early as possible. Most importantly, be sure to till, or turn over the soil down to 8- to- 12 inches deep beneath the surface and remove any rocks or debris. The next big step is to add organic matter and organic fertilizer. And make sure to irrigate the soil before planting.
Step Three: Pick your organic tools and materials
Organic gardening requires many of the same tools as any other garden: a rake, a hoe, compost, mulch, and seeds or seedlings. Soaker hoses or drip systems can ensure that your garden’s temperature and moisture remain consistent and controlled, improving the odds that you’ll have a full harvest. But organic differs in that you don’t want to select seeds that aren’t certified organic. Organic seeds and seedlings will carry the USDA organic seal. You’ll want to avoid potting mixes, seed starters, or bags of soil that don’t carry the organic seal. Call ahead to your local garden center to make sure they carry organic supplies.
Step Four: Preparing the bed
Raised beds are a good solution if you want to grow organic plants or crops in compromised soil or otherwise inhospitable conditions. If you decide to invest in a raised bed, here are some things to remember:
First, create a border around the bed with brick, stone or even natural wood to shield the soil from potential contaminants. The border should be at least 16 inches high to ensure that the roots are protected. Then fill the bed with a mix of organic compost and organic soil and start preparing the bed for planting.
Step Five: Selecting seeds and planting
Even with a perfect tract of soil, raised bed or container, you still have to choose the plants or crops that grow best in your region and climate. To get the highest yield, research which ones thrive in your area. You also want to pick crops that you and your family or neighbors really enjoy to make for a celebratory harvest. Consider planting “companion plants” close to your primary plants or crops. These can provide necessary nutrients to help your crops grow or specialize to repel pests that would otherwise be attracted to your plants. To find out the best companion plants do a quick Google search about your particular crops.
Step Six: Care and upkeep
Arguably this is the hardest step, because this is when you face the challenges of pests, irrigation and tending to your crops. So let’s break it down a bit.
Irrigation: If you’re watering your garden by hand rather than relying on a soaker hose or drip system, do it in the morning. This should increase the amount of water that your plants retain while also making it less likely that detrimental harmful mildew or mold will form. With most crops, you’ll want to water the soil rather than the leaves. Be sure to research the best watering practices for your particular crop.
Soil: For the best crop results, you’ll want to adjust and maintain a soil pH level of about 6.5-7.0. Your garden supply store will carry a pH meter and pamphlet to help you test and adjust levels. Remember to use companion plants to nurture the soil and don’t forget to feed the soil, use compost and check for earthworms. Earthworms equal healthy soil.
Pests: Keep an eye out for pests. If companion plants don’t repel all of them consider creating using deterrents such as slug traps. Neem oil and other natural horticultural oils can deter particularly insistent pests without relying on synthetic chemical pesticides. At least twice a week flip over a leaf to look for pests like aphids or other pests. If you find them, introduce some beneficial insects like ladybugs. Ladybugs can consume up to 50 to 60 aphids a day, so they’ll clean up those aphid-infested leaves in no time. Ladybugs can be purchased at your garden supply store.
Also look for missing leaves and bites larger than your thumb. They’re a sign of larger pests such as rabbits, rodents or deer. There are several ways to combat them, but this takes us back to Step One: Secure your garden so that large pests can’t easily invade it. Crates, netting, reemay cloth, fencing and other barriers can also help to thwart those pesky invaders.
Step Seven: Harvest
This is the best part of gardening – enjoying the fruits of your labor. Literally! A crop requires consistent harvesting. If not harvested regularly, many crops will turn to seed and stop producing. Most vegetables reach their peak flavor when they’re young and tender. If you’re aiming to make a crop last all season be sure to research the best harvest times for your region and pay attention to frequency.
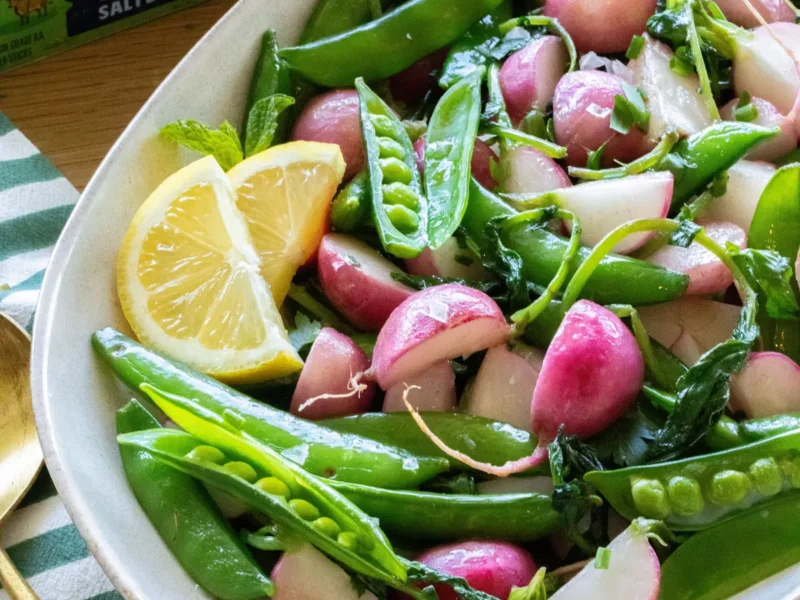
Harvesting is the most rewarding experience. You’ll feel elated to have fresh fruits and veggies filling up your counter and you’ll be amazed at the how much better the taste and quality is once you bite into that first homegrown, organic salad. From all of us at Only Organic enjoy the season and happy planting!

